What to wear to your portrait session | Vancouver, WA/Portland, OR Portrait Photographer
Spring is just around the corner and it's time to start thinking about family and children's portraits.
Pictures can be stressful because you want to love them for years to come; I hope this blog post helps you as you prepare. I am here for you every step of the way.
The Dos and Dont’s
In the spirit of being simple and straightforward as promised, let’s get right to the good stuff. These “do’s and don’ts” are your general guidelines for a successful photoshoot and a look you will surely want to capture and remember for years to come.
The "Dont’s"
What we don’t want to capture forever are wrinkled or disheveled-looking clothes. While this seems all too obvious, the minor details such as ironing or dry cleaning can slip through the cracks when you’re balancing all of the tasks that come with planning for a photoshoot. Unfortunately, far too often, all of that work and money goes to waste because of a photo hijacked by a wrinkled dress, frumpy pants, or jumbled hemline. Remember, in the crisp, clear images you’re going for, details show.
Other unsavory eye-catchers include logos and busy patterns. Logos are designed to draw attention so remember, that is what they are going to do in your photos. We want the eye to be drawn to those in the picture as opposed to a distracting logo on a sweatshirt. Furthermore, anything that dates clothing will also date your pictures and negate the timeless value we are going for. As far as patterns go, pattern can be great and a fun, interesting addition to the overall look. Issues can arise when there are too many competing, busy patterns overtaking the image. As a general rule of thumb, one to two patterns per picture complemented by coordinating solids works well. There are certainly exceptions to this if, for example, the feel you’re going for is eclectic and energetic. In that case, you’ll certainly want to work with your photographer to collaborate on the overall feel and balance your patterns with a simple background.
Procrastinating is quite possibly the biggest “don’t.” Pictures capture not only outfits but also emotions! When you’re feeling rushed and stressed out because you couldn’t find your belt or you ran out of time to apply your eyeliner straight, chances are you will spend the first 15 minutes or so of your session looking uptight and upset. While the missing accessory or mismatched shoes are a detriment to your pictures, so are the uneasy, stressed-out smiles. Granted, pictures can be stressful to some degree no matter what you do, but the more prepared you are, the less uptight you’ll be. I want this to be an enjoyable experience to bring out the best sides of your personality.
The "Dos"
Now that you solemnly swear not to procrastinate your photoshoot preparations, let’s talk about what you can do to look and feel your best. First, have every single piece of your outfit picked out a week or two in advance so you have time to locate or order anything you need to purchase. Next, try your outfits on a week in advance. Clients often purchase new clothing for pictures, and you don’t want to realize an hour before your photoshoot that clothes don’t fit. Next, have everything laid out, dry cleaned or ironed, and ready to go at least one day before your photoshoot. Having just the shirts and pants (or skirts or dresses) picked out looks deceivingly prepared, but it’s not enough; it’s those pesky details like belts and hair bows that undoubtedly have us scrambling five minutes before it’s time to head out.
Having hair cut and colored two weeks in advance is also a great idea because details like scruffy necks and grown-out roots will distract you from what you really want to be looking at in your photos.
It’s also a great idea to prepare a bag of snacks and tricks such as a small makeup kit for touch-ups, brush and gel or hairspray, headache medicine, stain remover pen, baby wipes, and tissues. Remember to keep the snacks as mess-free as possible! Leave the red suckers at home.
With the clothes, shoes, and accessories gathered together down to the socks, you’ll have nothing to worry about. Well, I can’t promise you that because—chances are—you probably will have something to worry about, but at least it won’t be your outfits!

Setting the Tone
The very first place to start when planning your pictures is determining the overall tone or mood you’re going for. For example, are you going for a fun look, casual, sophisticated, serene, professional, etc.? If your photos were to have a personality, what do you want that personality to be? Your inspiration can be anything. Some clients start with where they are going to display the images and use the inspiration from that room to choose their tone. Others start with a piece of clothing like a dress or pair of shoes to base color schemes off of. A location, another inspiration photo, your personality and/or your family’s personality, an event the pictures are documenting, or even a feeling you want to encapsulate can also inspire your pictures. Once you’ve determined what overall feel you are going for, you can coordinate the outfits and location to work together.

What to Wear
Unless you’re time traveling back to 1996, matching shirts and outfits are out, and coordinating outfits are in. Of course, we want outfits to work together, but they do not need to be—and should not be—the exact same. For example, not everyone needs to be in the same denim on denim ensemble (1996), but it does look nice to determine a color scheme of 2-4 colors or a color family (ie warm or cool tones), for example, and have everyone wear something that matches his or her personality within that color scheme. This is what we mean by coordinating. Outfits aren’t “matchy-matchy,” but they also work together.
When determining a color scheme, remember to consider the room where the pictures will be displayed. This is huge! If the colors in your pictures conflict with the tones of the room in which they are hung, you’ll want to replace them sooner than later. If the room in which your photos will be displayed is decorated with muted, natural tones, you want to carry that style and color palette through to your outfits.
As a general rule, bright-colored clothing brings a spirit of energy and life, and photos showcasing these colors will look best in rooms that also boast bright colors. Red is known as a power color that represents strength. Darker colors like navy and dark grey can feel comfortable as neutrals. Light pink and peach appear soft and romantic. And jewel tones have a rich and luxurious feel.
When interior designers design a room, they often start with one piece of furniture or fabric as a jumping-off point. Here’s a tip: if you’re struggling with where to start, be like an interior designer of your photos; when coordinating outfits for a group of people, start with one outfit or piece of clothing you love and build from there.
If you’re still unsure about the color palette you want to go with, using natural tones is always a win. Soft creams, greys, browns, blues, etc. will always look beautiful and tasteful.
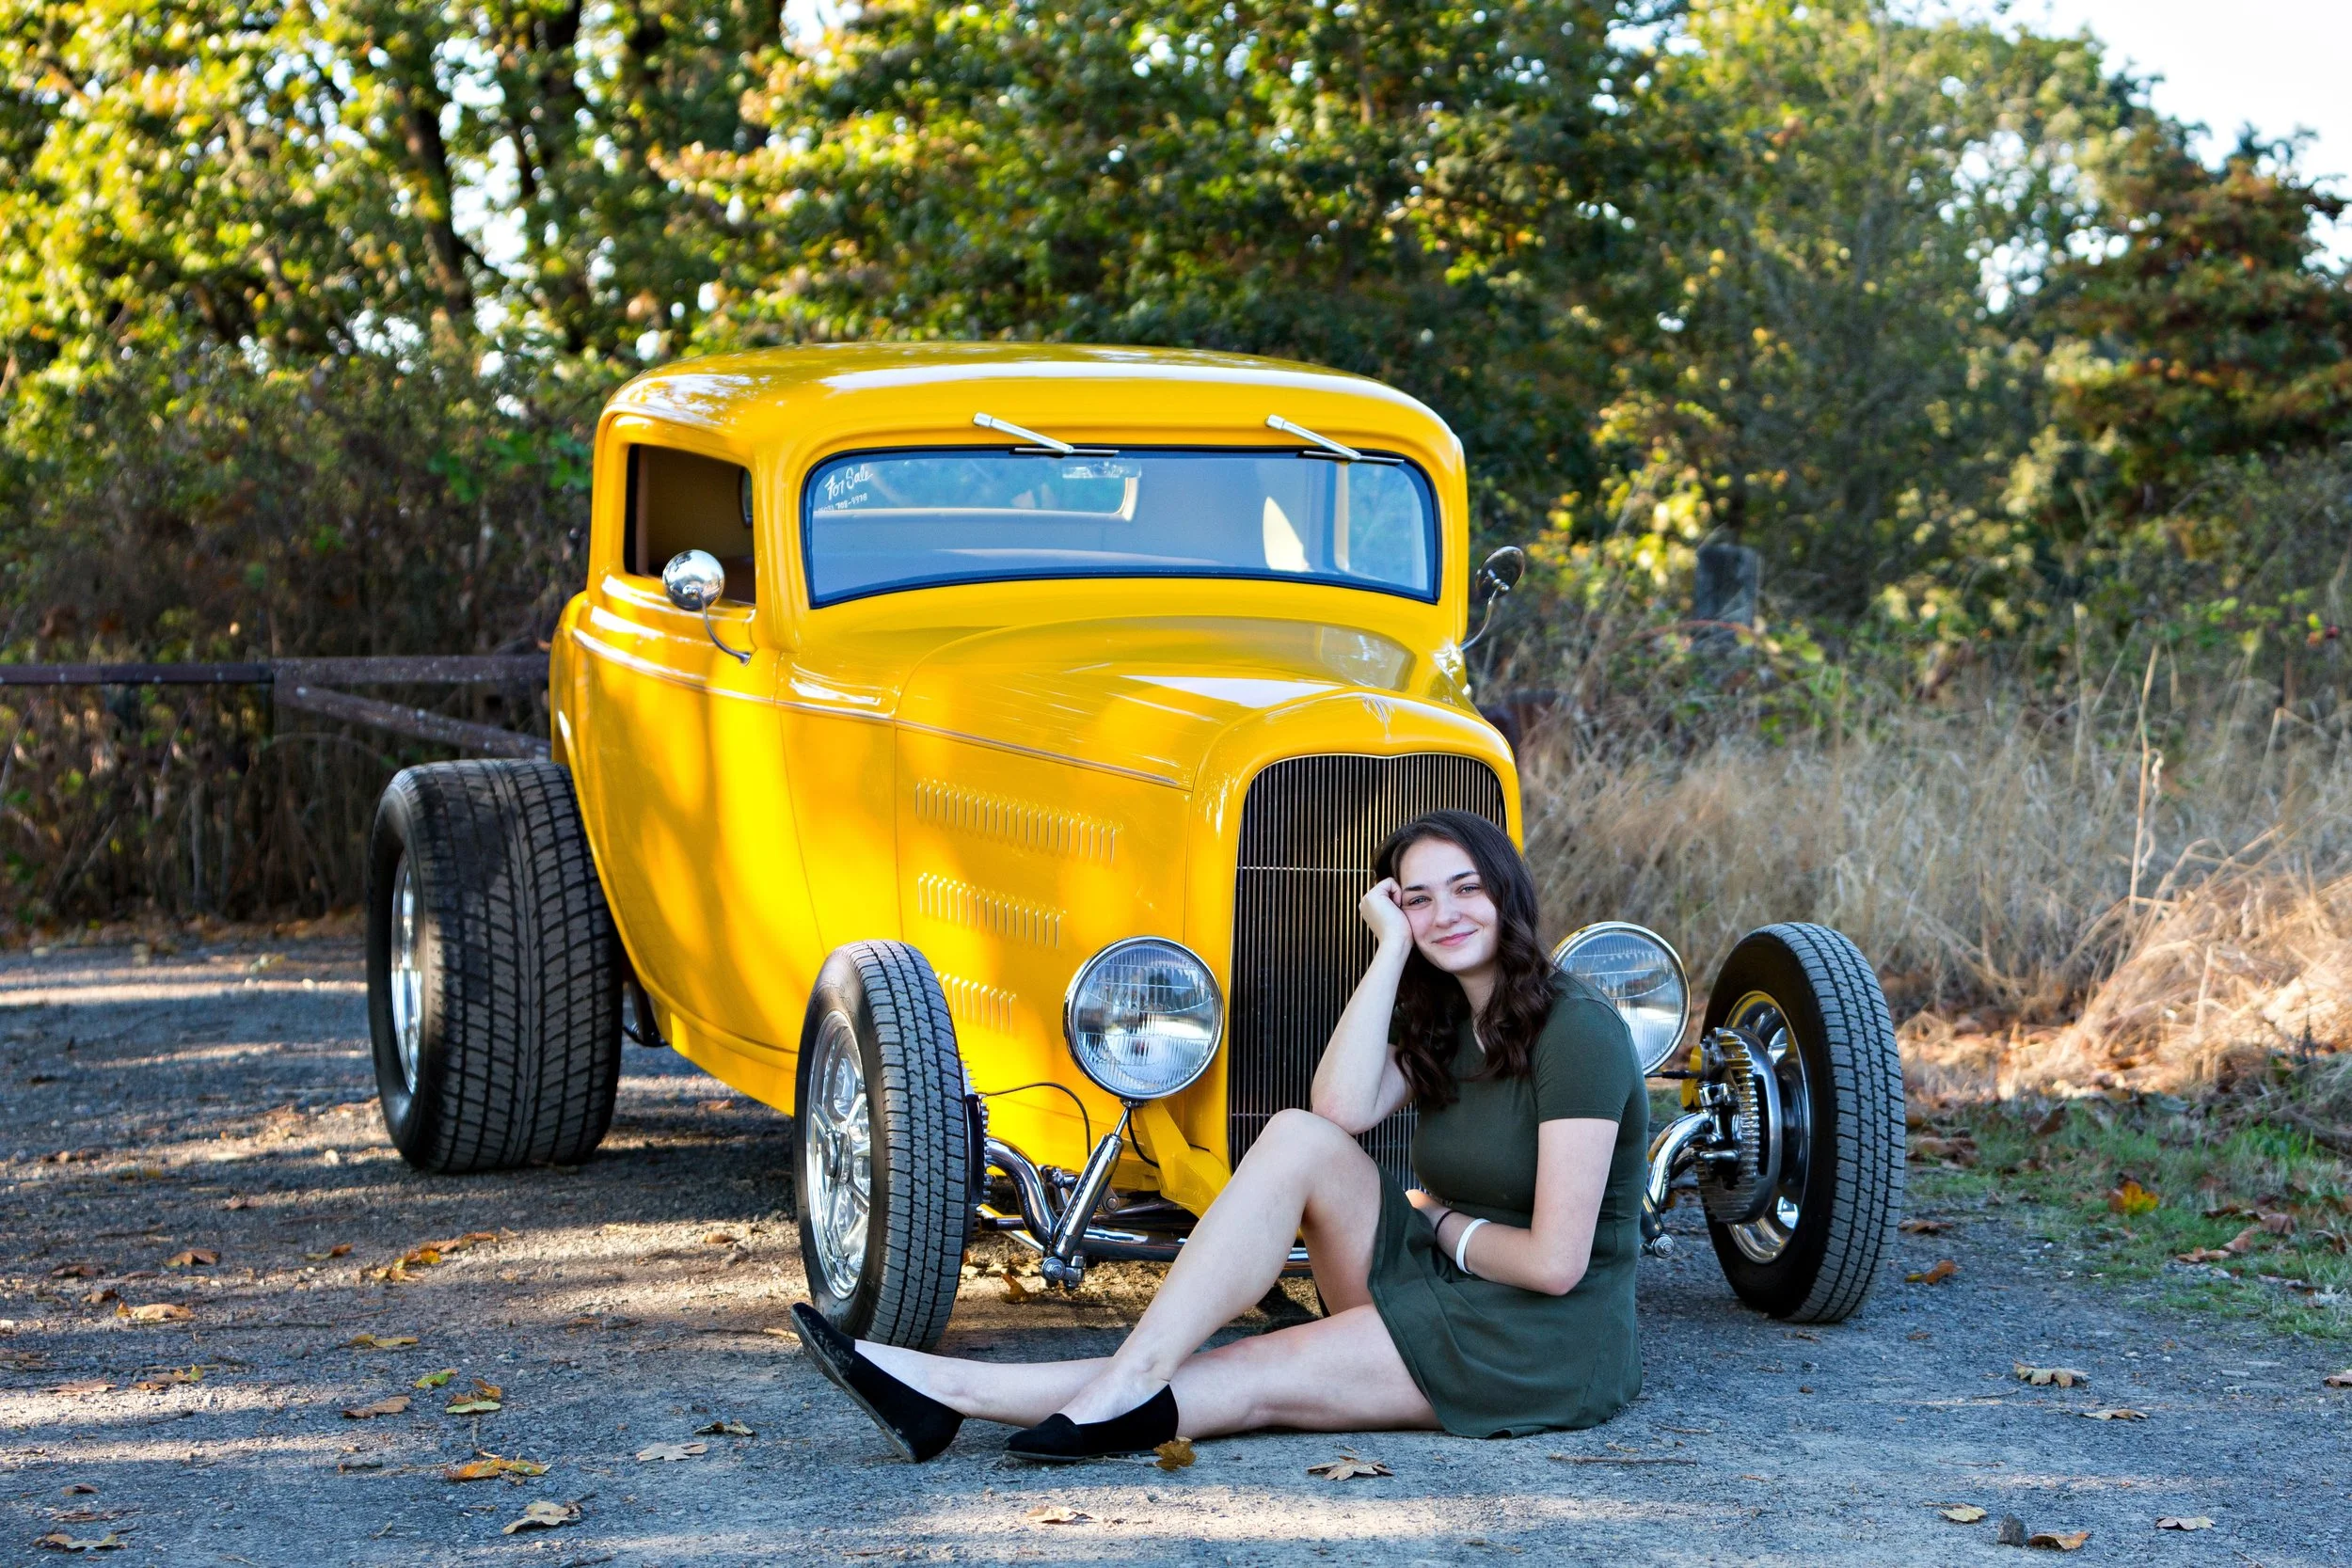
In addition to color palettes, you are also choosing a style for your outfits. Choosing formal wear is timeless and makes for beautiful photos to hang in the fancier parts of your home. If you want a more documentary or lifestyle type of look, you can wear everyday, casual clothes, but stay away from graphic tees and remember to keep the outfits ironed and clean to avoid looking sloppy. The middle ground-- wearing more dressy but still casual clothing-- is always an easy choice because you’ll look nice but also feel comfortable. When in doubt, dress it up. You won’t regret looking polished.
Another helpful tip to consider when planning outfits is to use layers with your clothing to add depth and visual interest. One layer of the photo to keep in mind is the background or location itself. Factor in the location when planning your outfits; you can either coordinate the style of your outfits with the location or juxtapose the location and your outfits, e.g., formal attire in an antique or outdoor setting. Be aware of the colors of your location so you don’t disappear in the background (e.g. wearing green in an all-green, outdoor setting lacks contrast.)
This next tip may be a bit debatable because there are some fashion-forward clients who love to display their fashion sense, which is great! It’s noteworthy to consider, however, that wearing trendy clothing pieces specific to the season or year may date your photos and be out of style within a year. Don’t let this discourage you from wearing stylish, interesting outfits! But be aware of the trends with a quick expiration date.
Once you’ve decided on your outfits, please send a picture of them to me so we can collaborate together on your vision and assure all of the other factors--such as the location and editing--work together to achieve your desired look.

Dressing for Your Shape
So, you have determined the mood of the pictures and considered colors and pieces that inspire your outfits. Now it’s time to choose pieces that fit the parameters you’ve set but also flatter each person. We want everyone to feel their best, and choosing clothes that are flattering is just as important as choosing colors and patterns. The main two things we look at here are 1) body shapes and 2) skin tone.
Dressing for your body shape is based on playing up your strengths and working with what you’ve got! It’s all about feeling confident.

For the Ladies
Women with a straight or athletic frame want to look for clothing that defines a waistline with belts, piping, seams, etc. Clothing that flares below the waist such as flared skirts, A-line dresses, and wide-legged trousers add the illusion of curves. Skinny jeans look great on this shape as well paired with a waist-defining top such as a peplum or fitted blazer. Avoid clothing that is too flowy or loose around the waist. Tops that draw attention to sleeves and the bust with ruffles, decorative necklines, etc. will also make the waist look smaller and create more of an hourglass shape.
For the pear shape ladies with more weight on the bottom half of their frames, wearing clothing with more visual weight and structure on the top half will balance the bottom half and create an hourglass shape. Clothing that draws attention to and defines the upper half is how we add this visual weight to the upper body. Tops with puff sleeves, boatnecks, structured shoulders, cowlnecks, and v-necks will do the trick, just to name a few. Accentuate the waist with a fitted and defined waistline. Utilize straight-leg trousers to balance the wide hips and thighs. Pants with pockets are important because pants without pockets magnify the booty—which is not a bad thing— but again, balancing the overall figure is the most flattering because the eye naturally looks for and desires balance. Our eyes are funny like that.
Women with hourglass figures want clothing that flows with and works with their curves. Boxy styles such as cropped, wide tops, or boxy dresses are not flattering for this body type. High-waisted pants and pencil skirts will hit at the waistline and accentuate the waist, and these items look beautiful and flattering paired with fitted blouses. Fitted tops and button-ups as well as tops and dresses made of stretchy knit fabrics will accentuate your shape rather than hide it.
Women with inverted triangle body types are more like a strawberry shape with broad shoulders and/or buxom bust lines. For this body type, we don’t want to amplify or draw attention to the dominant upper body. Button-ups are a problem piece for this body type because—as buxom figured women will attest—button-up shirts all too often leave gaping holes between the buttons covering the chest area. Button-ups will typically only fit the widest point and hang on the other areas. Knit fabrics with stretch, on the other hand, will accommodate the wider areas as well as accentuate and define the waist. Darted dresses and tops that define the waist and maintain structure around the bust are flattering. Lengthening the torso is key, and to balance the upper half, we can add embellishment and pattern such as patterned pants or skirts to add visual weight to the lower half.
The Oval body type is shaped like an apple with their broadest width around the middle with slim legs and arms. Cap sleeves to showcase defined arms as well as fitted skinny jeans or skirts and dresses to highlight svelte legs will draw attention to those beautiful features. Tops or dresses should drape or frame the middle section and not cling to it. Clothing that is fitted around the bust and decorative necklines are flattering because they draw the eye up. Tops that are shorter in the front and longer in the back elongate legs and stretch the torso. Monochromatic colors from top to bottom keep the figure long and lean. Invest in quality jeans with a wide, firm waistband to corset in the middle, and you will be feeling great!

For the Guys
If you fall into the skinny category, you want to look for clothes that aren’t necessarily skintight but don’t drown your frame. Tailored is a great look. Watch out for baggy jeans or pants and boxy shirts. You are the men that can get away with skinny jeans and straight-leg jeans. T-shirts generally don’t look polished enough in pictures unless you’re going for a casual look. If you can find a tailored shirt with a “slim fit,” you’ll be able to avoid any extra fabric you don’t need. It’s not that the clothing needs to be tight, but you also don’t want your look to say “baggy” as this can translate to “sloppy.”
Men in the muscular category often have a tough time finding clothes with the right fit because of broad shoulders and wide necks. As a general rule, you should be able to fit a finger between your neck and the collar of your shirt. You don’t want too-tight fabric pulling shoulder to shoulder across the back or the chest area. When fabric doesn’t lie smoothly, you’ll notice the pulling in photos. Be aware of loud colors and pattern because you may be the largest body in the picture so, typically, complimenting solids and mild patterns are best.
If you have a stocky build, be aware of all of the tips in the muscular category above and also avoid clothes that are too fitted on your middle section. Try jackets with structured shoulders as well as stiffer fabrics that won’t cling to areas you aren’t trying to draw attention to; stretchy knit fabrics don’t do any favors. Clothing that elongates your frame is your best friend: vertical stripes, long jeans or pants, and lower profile shoes will love you, and you will love them in return. Avoid boots and cropped pants as this creates the illusion of shorter legs.

Dressing for Your Skin Tone
There are quite a few variations, but to keep it simple, skin tones have either warm or cool undertones. If you’re not sure what your skin tone is, do a wrist check. If your veins appear more blue, you have cool skin tones. If they look more green, you have warmer, yellow skin tones. Sometimes it’s hard to tell until you compare your skin to a few others. Put your arms side-by-side with a few friends, and you should be able to tell who has warmer skin tones with more of a yellow, olive hue and who has cooler skin tones.
If you have a warm skin tone you have yellow undertones to your skin, and colors such as red, orange, and gold are the most flattering for you within the warm color family. Colors in the cool family that complement your skin tone are warmer blue and green tones such as olive and reddish purples such as magenta. Your best neutrals are cream, brown, and taupe. You’ll want to stay away from jewel and icy tones.
If you have a cool skin tone with blue undertones your go-to cool colors include blues such as royal blue, sapphire, bright blue; deep purples; lilac; and greens such as emerald. Warm colors that work well with your coloring are ruby, pinkish reds, and bright rose. Your ideal neutrals are navy, grey, and white. Colors that are tougher for you to pull off are oranges and yellows
I hope this guide has helped you put together the perfect wardrobe for your portrait session. If you have any questions please leave them in the comments.